Sugar On Top of the Mix Bus
Sweeten your master until it's just right for your composition, the best mastering plugin.
Mastering your own music can be challenging, but Sugar by Process.audio is a mastering plugin that lets you handle some of the most critical aspects ( High-pass, Low-pass, saturation... ) of the process with ease. In fact, you could call it an “almost” automatic mastering plugin.
All you have to do is start pushing up the four Band Faders until you get the result you want. Or if you’d prefer, use one of the mix bus presets as a starting point. It’ll get you 98-percent there. Either way, it’s simple. That’s why, in addition to being a killer mastering plugin, it’s one of the best mastering plugin you can buy.


It’s an easy mastering plugin to use, Sugar is an almost automatic mastering tool.
Let's talk about mastering
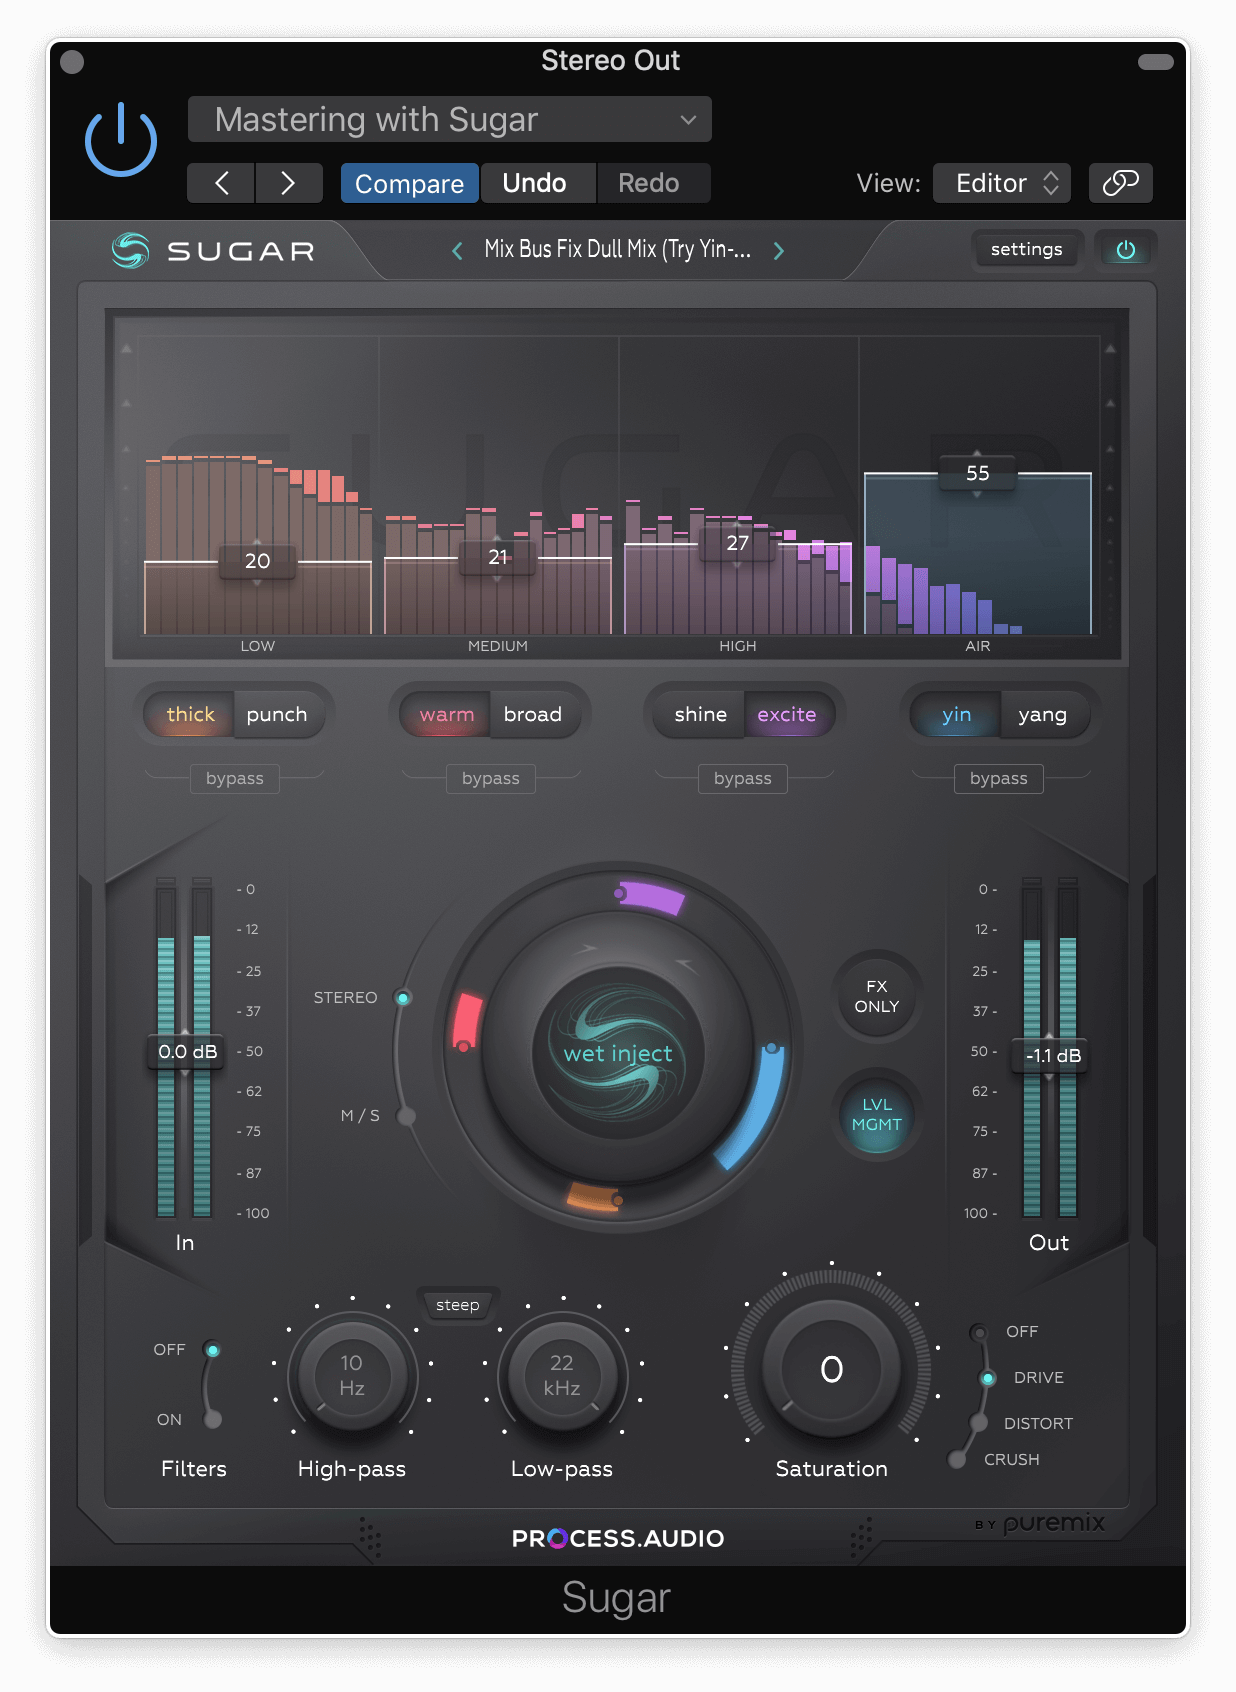
The main reason we call Sugar a mastering plugin is that it’s designed to sweeten your track. And sweetening is one of the main objectives of the mastering process. To that end, each of Sugar’s Faders controls its own processing chain that’s specially designed and tuned for its frequency range. Underneath the Faders in Sugar’s user interface are frequency analyzers for each band to give you visual feedback.
Once you get to the mastering stage you’re usually not making significant frequency adjustments. Mostly, you’ll just be making minor “icing on the cake” types of tweaks. Its four Band Faders—Low, Medium, High, and Air—each have a 100-step resolution, allowing you to make very fine adjustments thanks to Sugar's band faders. It's a mastering plugin that will help you do small frequency tweaks. That kind of precision is among the reasons that Sugar is one of the best mastering plugins around.
Another is that all the filters in Sugar are Linear Phase. That means that they won’t produce artifacts that can smear the image, which wouldn’t be a good thing for a mastering plugin.
Even when mixing, it’s often advisable to use the Linear Phase filters, because of their superior quality. However, if you’re using multiple instances of Sugar in a mix and your CPU is getting strained, you do have the option to go into Sugar’s settings and switch the filter mode to Minimum Phase.
Choose your sonic flavor
Each of Sugar’s Band Faders has two sonic “flavors,” which you can toggle between. When using Sugar as a mastering plugin, it’s useful to try both for each band to see which fits better with the music.
You can set the low band either to Thick, which adds heft to the sound or Punch. The latter adds low end and gooses up the transients for a more punchy sound. The Medium band can be set either to Warm, which offers a narrow midrange boost; or Broad, which provides a wider increase of the mid frequencies.

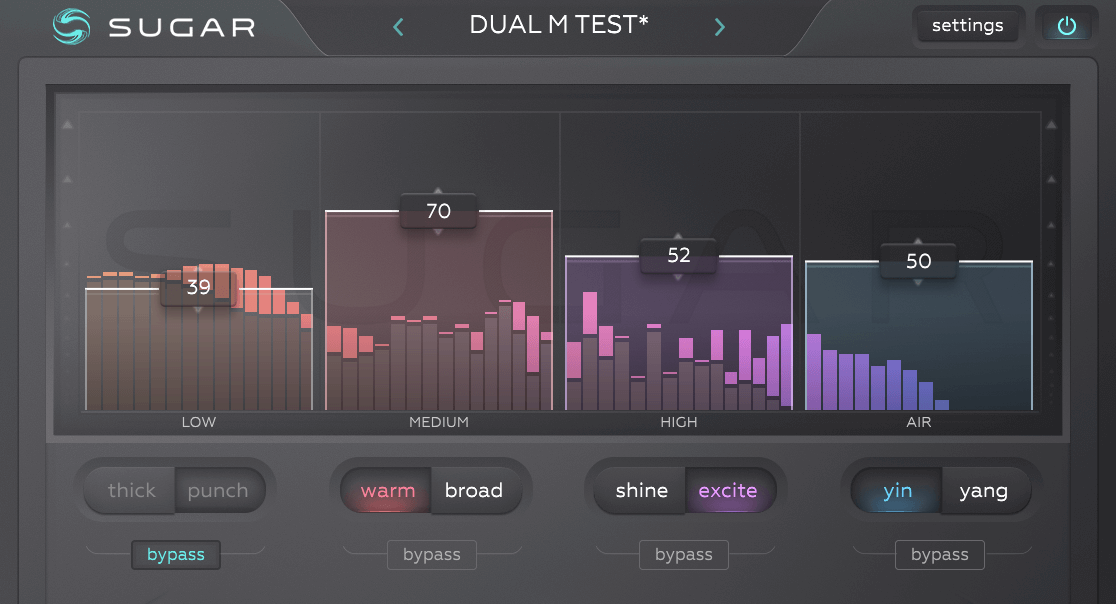
You can choose between two sonic options for each band, and bypass bands freely.
The High Band choices include Shine, which boosts existing frequencies; or Excite, which generates additional harmonics. The Air band offers Sugar’s highest-frequency boost and can be set to Yin or Yang. Because of the extra phase sensitivity in this part of the spectrum, we recommend that you always try both to see which works better on a given song. You can also bypass each Band individually, which makes it really easy to hear how each is affecting the overall sound.
More or Less
Another helpful feature when mastering (or mixing) is the Jog Wheel, which is labeled, “Wet Inject.” Say you’ve set the Band Faders and are pretty sure you like the overall relationship between them and how they’re affecting your music, but you’re curious what would happen if you pushed them up a bit more or backed them off just a little.
Instead of having to adjust each Band Fader separately while trying to maintain the same relative distance between them you can just turn the Jog Wheel and either increase or decrease all of them by the same amount.
The Mid and Side of It
One of the features that makes Sugar so powerful as a mastering plugin is the option to process in Mid/Side (MS) mode instead of Stereo mode. That allows you to apply different amounts of processing to the middle of the stereo image than to the outer edges.
How could M/S mode come in handy? Say, for example, you boost Sugar’s High Band Fader in a way that really improves the sound of the lead vocal and the snare (both of which are panned up the middle) but there’s a shaker or tambourine or other high-end sources that’s panned wide to one side that’s getting too bright when you do so.
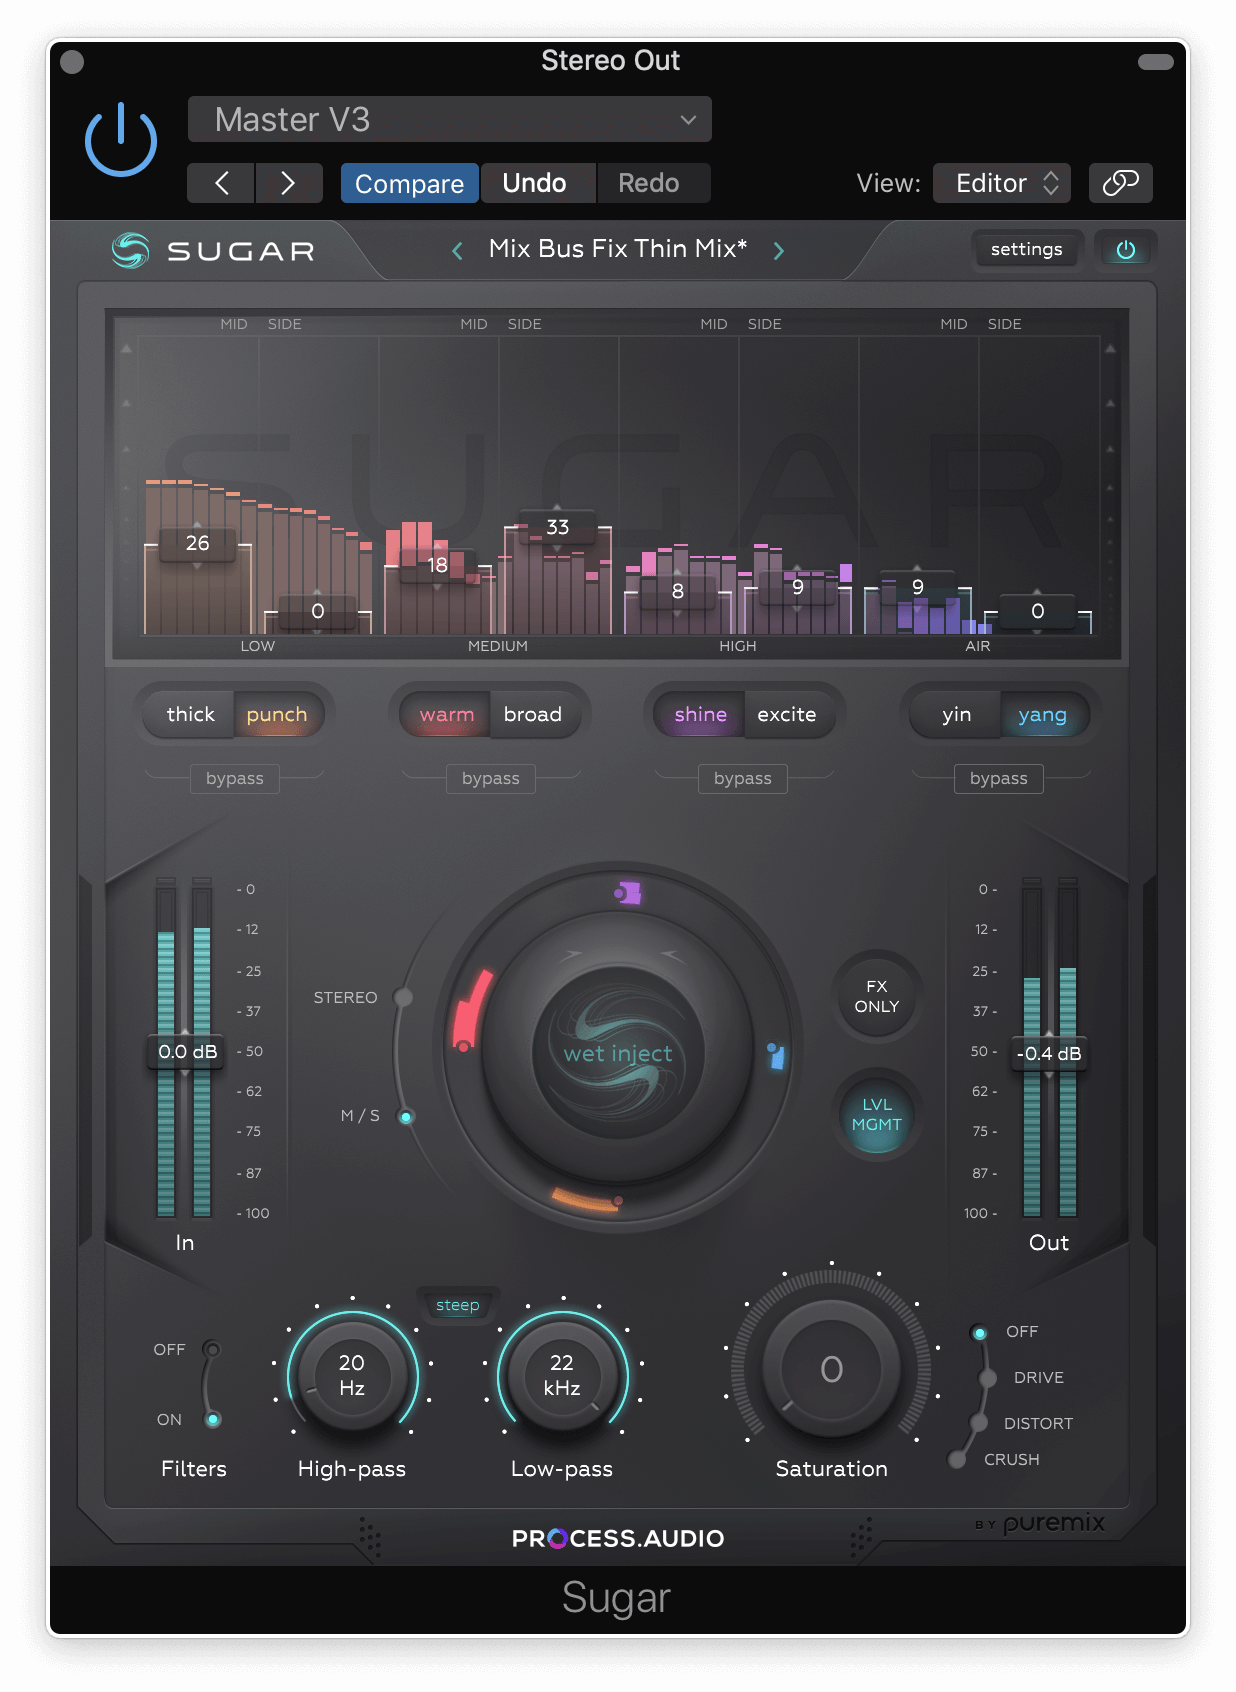
When you switch to M/S mode, you get two Faders for each band: one for the mid content and one for the side. That way, you can dial in that helpful high boost to the center without impacting that wide-panned percussion instrument.

In M/S mode you get two Faders for each Band; one adjusts the center content and the other the side.
Here’s another example: Say you’re working on a folky, singer-songwriter mix that has wide-panned acoustic guitars. In M/S mode, you can treat the outsides of the guitar differently than you do the center with the vocals and drums, if you want.
Drive on Over
There may be some situations where you feel the song you’re mastering could use a little extra warmth and perhaps a slight softening of the transients. For such situations, just a little taste of Sugar’s Saturation circuit can make a big difference.

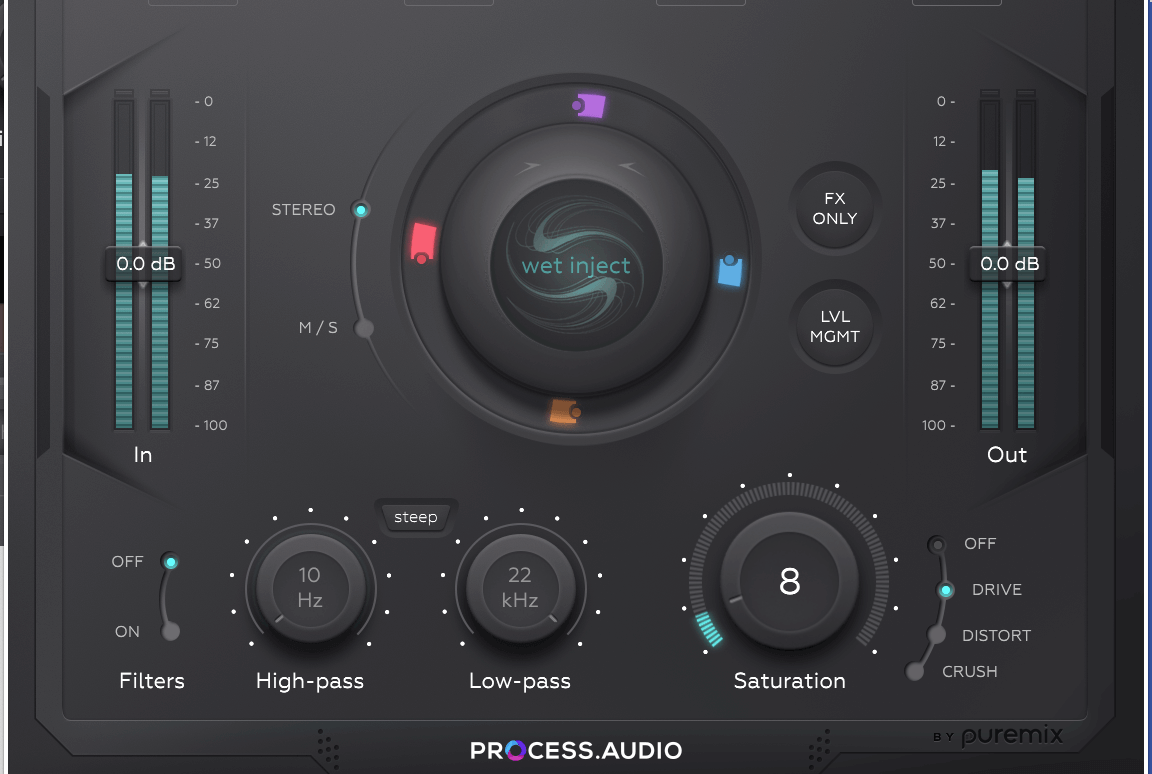
A little Saturation can add subtle warmth to your song.
All you have to do is turn the Saturation Gain up above zero and Sugar will automatically switch the Saturation Type to Drive. Then dial in the amount you want. For mastering, you’re most likely going to keep it subtle. You could also switch the Saturation Type to Distort or Crush if you want, although those are more extreme effects.
All Set
As you can see, Sugar is indeed an “almost” automatic mastering plugin that’s as powerful as it is easy to use.